
Oak flooring is a timeless choice for many homeowners due to its durability and natural beauty. However, to ensure that your oak floors remain in pristine condition, regular maintenance is essential.
Proper upkeep not only preserves the aesthetic appeal of your flooring but also enhances its longevity, making it a worthwhile investment.
Maintaining oak flooring is crucial for several reasons. Firstly, regular maintenance helps to prevent damage caused by dirt, moisture, and everyday wear and tear. This not only keeps the floors looking beautiful but also reduces the need for costly repairs.
Additionally, well-maintained oak floors contribute to a healthier home environment by minimizing dust and allergens that can accumulate over time.
Investing time and effort into maintaining your oak floors can yield significant long-term benefits. Long-lasting oak floors increase the overall value of your property, as they are a desirable feature for potential buyers.
Moreover, the durability of oak means that with proper care, your floors can withstand the test of time, providing a classic and elegant look for years to come.
By keeping your oak floors in top condition, you also ensure a smooth and comfortable surface underfoot, enhancing the comfort and enjoyment of your living space.
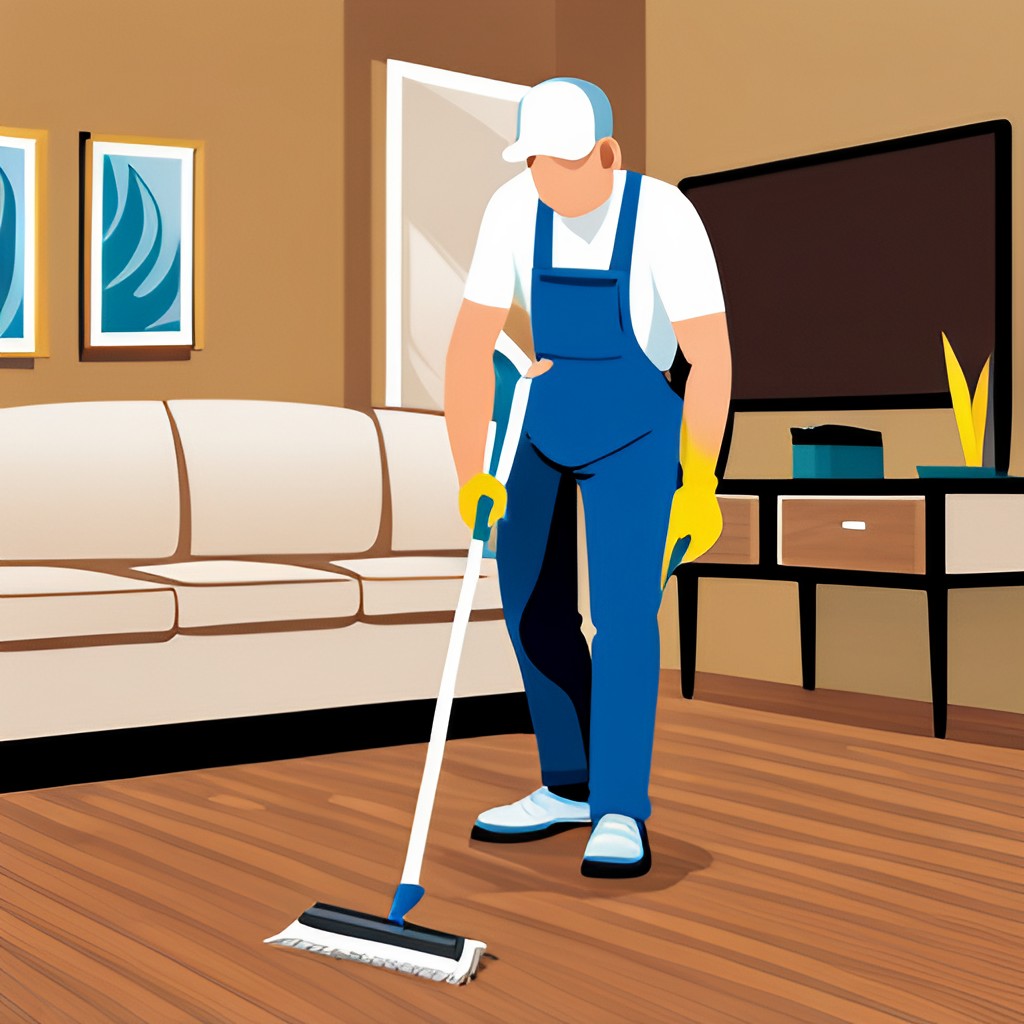
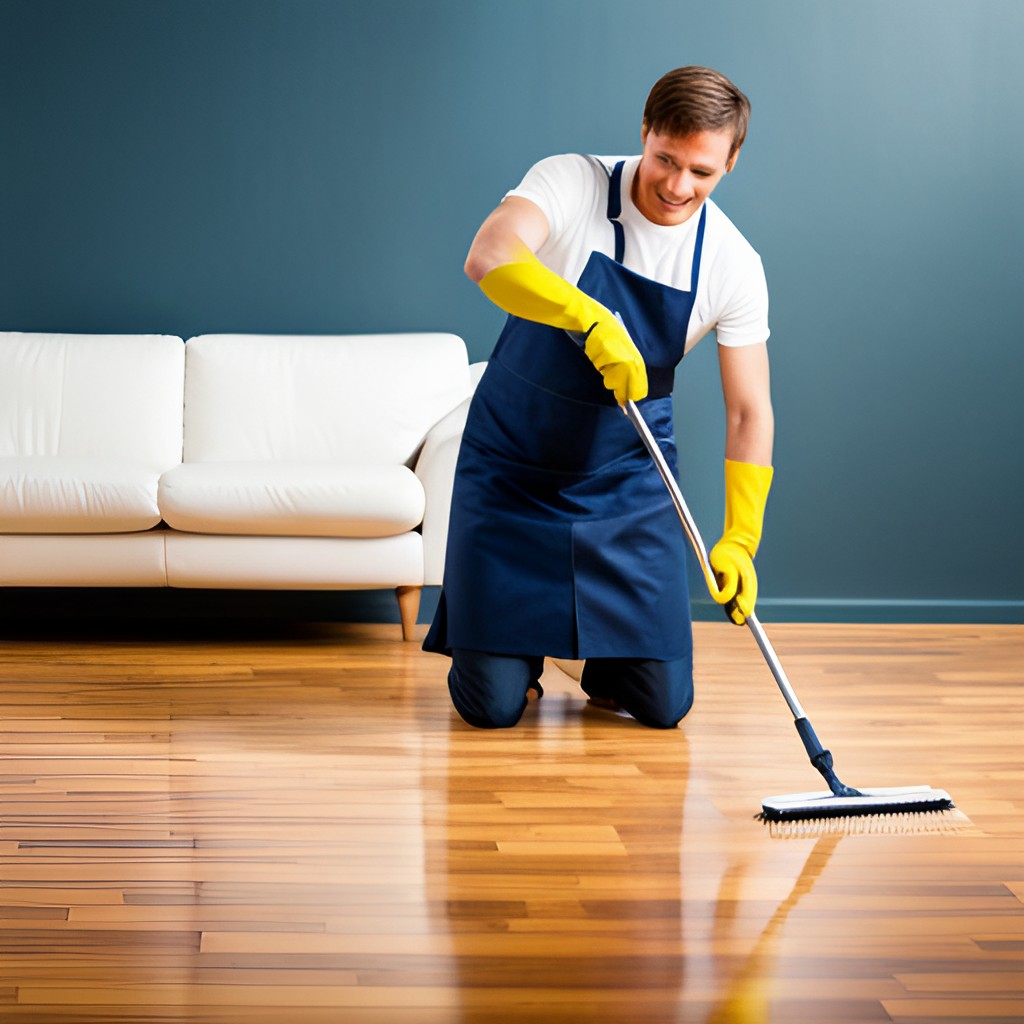
Secret 1: Regular Cleaning
Types of Cleaning
Sweeping:
Sweeping your oak floors daily helps to remove dirt, dust, and debris that can cause scratching and dulling of the finish over time. A soft-bristle broom is ideal, as it effectively captures particles without damaging the wood.
Vacuuming:
For a more thorough cleaning, vacuuming is recommended at least once a week. Use a vacuum with a hardwood floor attachment or a setting that deactivates the beater bar to prevent any potential scratching.
Vacuuming allows you to reach into crevices and corners where a broom might miss, ensuring a more comprehensive clean.
Mopping:
Mopping should be done sparingly and with caution to prevent water damage. Use a damp mop rather than a wet one, and avoid any excess moisture that could seep into the wood and cause warping.
Microfiber mops are highly recommended as they are gentle on the surface and effective at picking up dirt.
Recommended Cleaning Products
Mild Soaps:
When mopping, use a solution of warm water mixed with a few drops of mild soap specifically designed for hardwood floors. Avoid using harsh detergents or abrasive cleaners as they can strip the finish and damage the wood.
pH-Neutral Cleaners:
pH-neutral cleaners are ideal for oak floors as they clean effectively without affecting the wood’s natural balance. These cleaners are gentle yet efficient, maintaining the floor’s shine and integrity.
Microfiber Cloths:
For spot cleaning and dusting, microfiber cloths are a must-have. They attract and trap dust rather than pushing it around, ensuring a cleaner surface without the risk of scratches.
Protective Products:
To further protect your oak floors from scratches and wear, consider products like floor mats in high-traffic areas and felt pads under furniture legs. These small additions can significantly contribute to the longevity of your oak flooring.
By incorporating these types of cleaning and recommended products into your regular maintenance routine, you can effectively preserve the beauty and durability of your oak floors.
Secret 2: Immediate Spill Cleanup
Immediate action is crucial when a spill occurs on oak flooring to prevent water damage. Follow these detailed steps to ensure your floors remain pristine:
Act Quickly:
As soon as a spill happens, move quickly to prevent the liquid from seeping into the wood. Time is of the essence to avoid any potential staining or warping.
Blot, Don’t Rub:
Using a soft, absorbent cloth or paper towel, gently blot the spill to soak up as much liquid as possible. Avoid rubbing the area as this can spread the liquid and push it deeper into the wood’s pores.
Use a Mild Cleaner:
After blotting, clean the area with a mild soap or a pH-neutral cleaner. Mix a small amount of the cleaner with warm water and dampen a microfiber cloth. Gently wipe the spill area to remove any residue, ensuring not to saturate the floor.
Dry the Area:
Once the spill has been cleaned, use a dry microfiber cloth to thoroughly dry the area. It’s important to ensure there is no moisture left on the surface that could cause damage over time.
Check for Residue:
After drying, inspect the area for any residue or signs of damage. If any marks or stains persist, consider using a hardwood floor cleaner specifically designed for oak floors.
Ventilate the Area:
If the spill was significant, it might help to ventilate the area to ensure full drying. Open windows or use fans to circulate air, which can expedite the drying process.
Monitor for Damage:
Over the next few days, keep an eye on the affected area to ensure no warping or discoloration occurs. Early detection of any issues allows for prompt action and reduces the risk of long-term damage.
Related Topic: How To Clean Engineered Oak Flooring
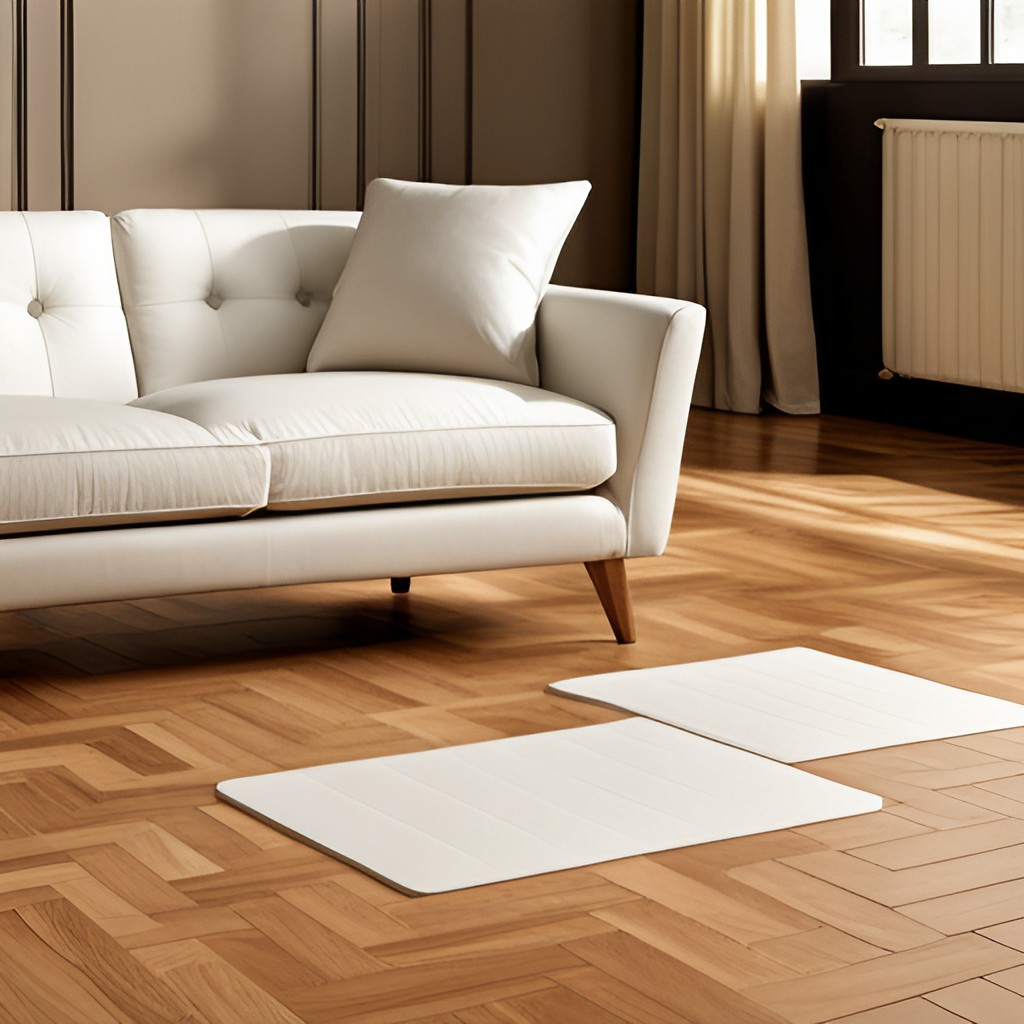
Secret 3: Use of Protective Rugs and Mats

Placement of Rugs in High-Traffic Areas
Strategically placing rugs in high-traffic areas of your home is crucial to preserving the beauty and longevity of your oak floors. High-traffic areas such as hallways, entryways, and the spaces in front of sinks or stoves are particularly vulnerable to scratches, scuffs, and general wear.
By positioning rugs in these key spots, you create a protective barrier that absorbs the impact of foot traffic, thereby reducing direct contact with the wood surface.
Additionally, rugs add an element of aesthetic appeal, seamlessly blending with your home décor while serving a practical function.
Opt for rugs with non-slip backings to prevent any accidental slips and ensure they are easy to clean, as these areas are more prone to dirt and dust accumulation.
How Mats Help Reduce Wear and Tear
Mats are essential in safeguarding your oak floors from the wear and tear associated with daily activities. Placing mats at entryways is a first line of defense, catching dirt, moisture, and debris before they can be tracked onto the flooring.
This is especially important in areas exposed to the elements, such as doorways leading to the outside or the garage.
Similarly, mats in areas where water spills are common, like the kitchen or bathroom, help to prevent liquid damage that could lead to warping or staining.
For the best results, choose mats with absorbent and moisture-resistant properties. It’s also advisable to use mats with a non-abrasive backing material to avoid scratching the floor surface.
Regular cleaning and replacement of these mats ensure they remain effective in their role, offering continuous protection to your floors.
By incorporating rugs and mats into your floor care regimen, you significantly extend the life and appearance of your oak floors, maintaining their pristine condition for years to come.
Secret 4: Furniture Protection
Furniture pads are indispensable when it comes to preserving the beauty and integrity of your oak floors. These small yet effective tools create a buffer between your furniture and the flooring, preventing scratches, dents, and gouges that can occur from daily use. Here are some detailed tips on how to use furniture pads effectively:
Choose the Right Material:
Furniture pads come in various materials, such as felt, rubber, and plastic. Felt pads are particularly popular for hardwood floors as they provide a smooth surface that glides easily without causing scratches.
Rubber pads can also be effective, especially for heavier pieces of furniture, as they offer excellent grip and prevent slipping.
Size Matters:
Ensure that the furniture pads you select are appropriately sized for each piece of furniture. Pads that are too small may not provide adequate protection, while oversized pads may be visible and unsightly.
Measure the base of the furniture leg and choose a pad that covers it completely for optimal protection.
Clean Surfaces Before Application:
Before attaching furniture pads, clean the bottom of the furniture legs to remove any dirt or debris. This ensures the adhesive on the pads sticks properly and extends their lifespan.
Regular Inspection and Replacement:
Over time, furniture pads can wear out or become detached. Regularly inspect the pads to ensure they are still in good condition and replace them if they show signs of wear or if they have fallen off. Keeping a set of spare pads on hand can make replacements quick and easy.
Use Pads for Both Static and Movable Furniture:
While it is common to use furniture pads for frequently moved items, such as dining chairs, don’t forget to place pads on static furniture like sofas and cabinets. Even stationary furniture can cause dents or scratches over time due to slight shifts or weight distribution.
Consider Custom Solutions:
For unique furniture shapes or larger pieces that require more extensive protection, consider custom-cut pads. You can purchase bulk felt or rubber sheets and cut them to size, ensuring a perfect fit for any furniture leg or base.
Adhesive and Non-Adhesive Options:
Furniture pads are available with either self-adhesive backing or as non-adhesive pads that require separate attachment methods like nails or screws.
Self-adhesive pads are easier to apply and remove but may need more frequent replacement. Non-adhesive pads offer a more permanent solution and are ideal for heavier furniture.
Secret 5: Managing Indoor Humidity Levels
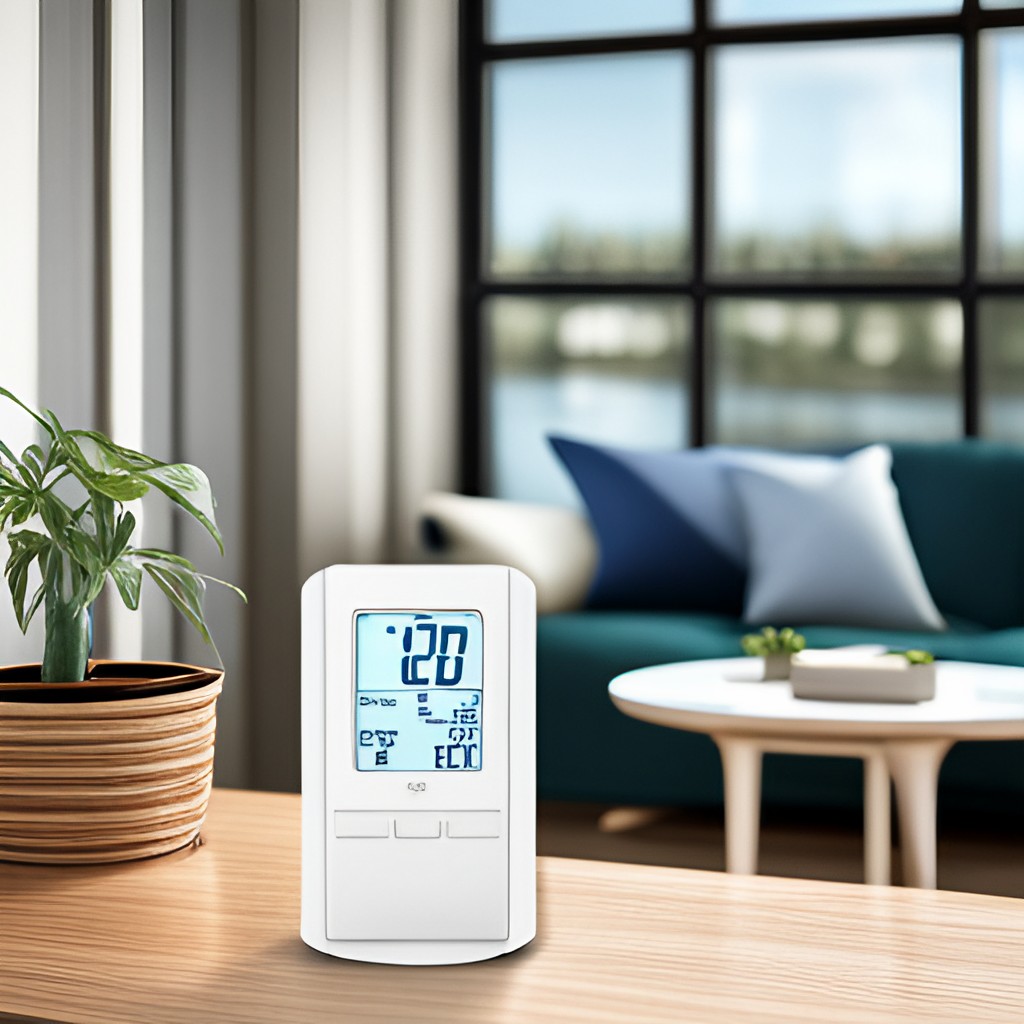
Maintaining the right humidity levels is crucial for the longevity and appearance of oak floors. Ideally, indoor humidity levels for oak flooring should be kept between 30% and 50%.
This range prevents the wood from either absorbing too much moisture, which can lead to swelling and warping or losing too much moisture, which can cause shrinking and cracking.
Seasonal changes can significantly impact indoor humidity, making it essential to monitor and adjust these levels accordingly.
Tools for Monitoring Humidity
Hygrometers:
A hygrometer is a device specifically designed to measure humidity levels. Both digital and analog hygrometers are available, with digital models often providing more precise readings.
Placing a hygrometer in the same room as your oak flooring can give you a real-time assessment of the current humidity levels.
Smart Home Systems:
Integrating a smart home system with connected hygrometers allows for remote monitoring of humidity levels. These systems can send alerts if the humidity goes beyond the ideal range, enabling prompt action to correct it.
Thermostats with Humidity Sensors:
Some modern thermostats come equipped with built-in humidity sensors. These devices allow you to monitor both temperature and humidity, providing a comprehensive understanding of your indoor environment.
Tools for Adjusting Humidity
Humidifiers:
During the winter months, indoor air can become very dry due to heating systems. Using a humidifier adds moisture to the air, helping to maintain adequate humidity levels.
There are various types of humidifiers, including portable units and whole-house systems, which can be selected based on the size of the area that needs humidity control.
Dehumidifiers:
In the summer, high humidity levels can become an issue. A dehumidifier removes excess moisture from the air, keeping the environment within the ideal range for your oak floors. Similar to humidifiers, dehumidifiers come in different sizes and capacities to suit various space requirements.
HVAC Systems:
Modern HVAC (Heating, Ventilation, and Air Conditioning) systems often come with built-in humidity control features. These systems can automatically adjust the indoor air quality, maintaining optimal humidity levels year-round.
Ventilation:
Proper ventilation, such as using exhaust fans in kitchens and bathrooms, helps to control indoor humidity. Opening windows periodically can also aid in balancing indoor humidity levels, especially during milder weather.
Secret 6: Refinishing and Sanding
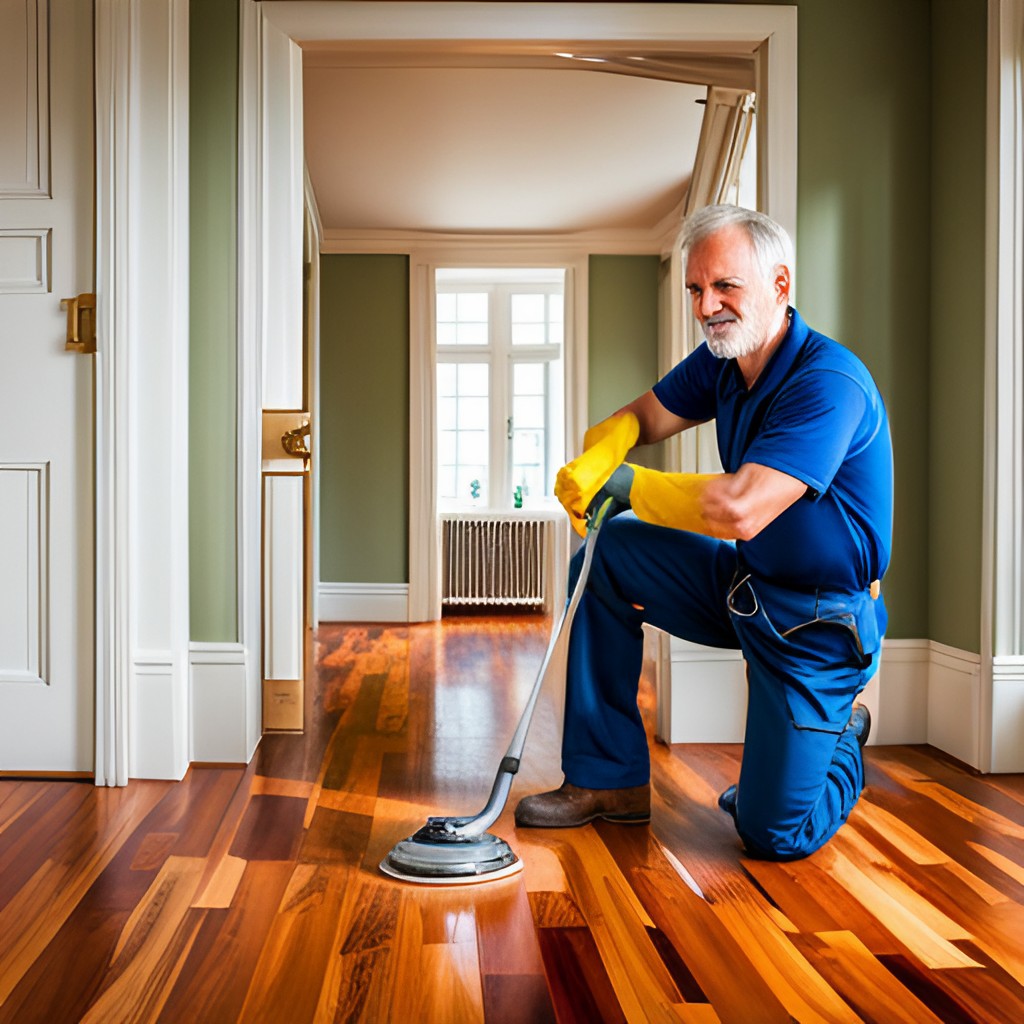
Refinishing your oak floors can breathe new life into them, restoring their original beauty and extending their lifespan. It’s important to know when to consider refinishing and how to execute proper sanding techniques to achieve the best results.
When to Consider Refinishing
Refinishing is recommended when your oak floors show signs of wear and tear that cannot be resolved by simple cleaning or minor touch-ups. These signs include:
Visible Scratches and Scuffs:
If your floors have multiple surface scratches or scuff marks that affect their appearance.
Stains and Discoloration:
Persistent stains or areas of discoloration that regular cleaning can’t remove may indicate the need for refinishing.
Dullness and Lack of Shine:
Over time, the finish on oak floors can wear down, leading to a lackluster appearance. If your floors no longer shine even after a thorough cleaning, refinishing might be necessary.
Water Damage:
Water stains or swelling boards due to moisture exposure are strong indicators that refinishing is needed.
Worn-Through Finish:
If you notice areas where the finish has worn off completely, exposing the bare wood, it’s time to refinish.
Proper Sanding Techniques
Sanding is a critical step in the refinishing process as it helps to remove the old finish and smooth out the surface of the wood. Proper sanding ensures an even and professional-looking result. Here are the steps and tips for proper sanding techniques:
Preparation:
Clear the room of all furniture and cover any vents or doorways to prevent dust from spreading. Make sure the floor is clean and dry before you begin.
Select the Right Equipment:
Use a drum sander for the main areas and an edge sander for corners and hard-to-reach spots. Ensure you have a variety of sandpaper grits, starting from coarse (36-40 grit) and progressing to finer grits (80, 100, and 120 grits).
Initial Sanding:
Begin with the coarse grit sandpaper to remove the old finish. Move the sander slowly and steadily along the grain of the wood, overlapping each pass slightly to ensure consistent coverage.
Progressive Sanding:
Switch to medium-grit sandpaper (60-80 grit) to smooth out the scratches from the initial sanding. Follow the same methodical approach, ensuring you cover the entire floor.
Final Sanding:
Use fine-grit sandpaper (100-120 grit) for the final sanding pass. This step will remove any remaining scratches and prepare the wood for the new finish. Ensure the surface feels smooth to the touch.
Edging and Detailing:
Use the edge sander with the appropriate grits for the perimeter of the room and any other areas the drum sander couldn’t reach. Sand carefully around the edges to avoid gouging the wood.
Dust Removal:
Thoroughly vacuum the floor and wipe it down with a tack cloth to remove all sanding dust. Any remaining dust can affect the adhesion and finish quality of the new coat.
Secret 7: Regular Inspections

Conducting Routine Checks for Damage
To maintain the longevity and appearance of your wooden floors, it is crucial to conduct routine checks for damage. Regular inspections can help identify minor issues before they escalate into significant problems.
Look out for scratches, gouges, or areas where the finish might be wearing thin. Pay close attention to high-traffic areas, as they tend to suffer the most wear and tear.
Additionally, check for any signs of water damage, such as discoloration or warping, which can seriously affect the wood’s integrity. Addressing these issues promptly can prevent more extensive repairs in the future.
Professional Maintenance Services
While regular checks and minor maintenance can be handled on your own, seeking professional maintenance services can greatly enhance the lifespan and beauty of your wooden floors.
Professional services usually include deep cleaning, polishing, and refinishing, which can restore the floor’s original luster and protect it against future damage.
Experts are equipped with advanced tools and techniques to handle more severe damage, such as deep scratches or significant discoloration.
Related Topics:
Conclusion
To ensure your oak floors remain beautiful and durable, remember these key maintenance tips: promptly address spills to prevent staining, use soft furnishings to minimize scratches, routinely clean with appropriate products, and conduct regular inspections for early detection of damage.
In addition, employing professional maintenance services periodically can keep your floors in prime condition.
By adhering to these secrets and incorporating them into your regular maintenance routine, you can enjoy the timeless elegance and durability of your oak floors for many years to come.
Consistent care and attention will not only preserve their beauty but also extend their lifespan, making your investment truly worthwhile.