Refinishing bamboo flooring is a rewarding process that can restore your floors to their original beauty. With the right approach, you can tackle common issues such as scratches, dents, and discoloration, ensuring your bamboo flooring looks as good as new.
This guide will walk you through the seven essential techniques for refinishing bamboo flooring, providing you with the knowledge and confidence to achieve professional results.
Whether you are a seasoned DIY enthusiast or a beginner, these techniques will help you maintain the elegance and durability of your bamboo floors for years to come.
1. Preparation
Assess the Condition
Before diving into the refinishing process, it’s crucial to evaluate the current state of your bamboo flooring for any damage or wear. Begin by examining the surface for visible scratches, dents, and discoloration.
Pay close attention to high-traffic areas, as these are more likely to show signs of wear. Additionally, check for any areas where the bamboo may have splintered or shifted due to environmental factors.
Documenting these observations will help you determine the extent of the refinishing work required and allow you to plan accordingly, ensuring optimal results for your bamboo flooring.
Cleaning
Thoroughly clean the floor to remove any dirt, dust, or debris. Start by sweeping the entire surface with a soft-bristled broom to collect larger particles. Follow up by using a vacuum cleaner equipped with a brush attachment to reach corners and along baseboards where dirt accumulates.
For an extra layer of cleanliness, use a damp microfiber mop to wipe down the floor, ensuring any remaining dust or fine particles are removed.
Be cautious not to oversaturate the bamboo with water, as excessive moisture can cause damage. Allow the floor to dry completely before proceeding to the next step in the refinishing process.
Repair Damages
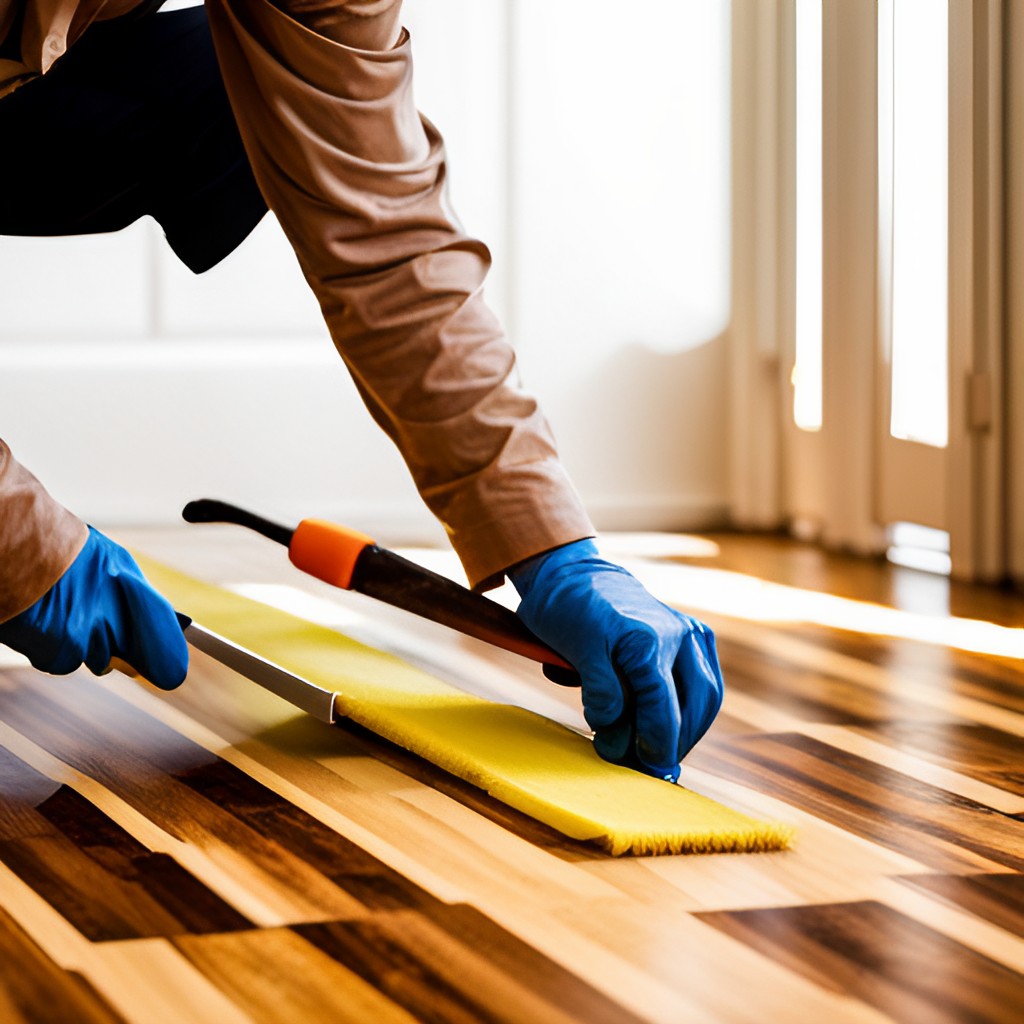
Addressing any damage on your bamboo flooring is essential to achieving a professional finish. Start by inspecting the identified problem areas closely. For minor scratches, use a bamboo floor repair kit that matches the color of your flooring.
Apply the filler using a putty knife, making sure to smooth the surface for an even finish. Consider using a wood filler to fill in the gaps for deeper dents or cracks.
Allow the repairs to dry completely before gently sanding the area with fine-grit sandpaper to ensure a seamless blend with the surrounding floor. Remember to wipe away any sanding dust with a microfiber cloth before moving on to the next stage of the refinishing process.
2. Sanding
Choosing the Right Grit
Start with coarse-grit sandpaper, typically around 40-60 grit, to effectively remove the old finish and address any major imperfections on the bamboo surface. Once the initial sanding is complete, gradually move to finer grits, such as 80, 100, and finally 120 grit, to achieve a smooth and even texture.
This progressive approach ensures a pristine surface ready for refinishing while minimizing any potential damage to the bamboo.
Sanding Process
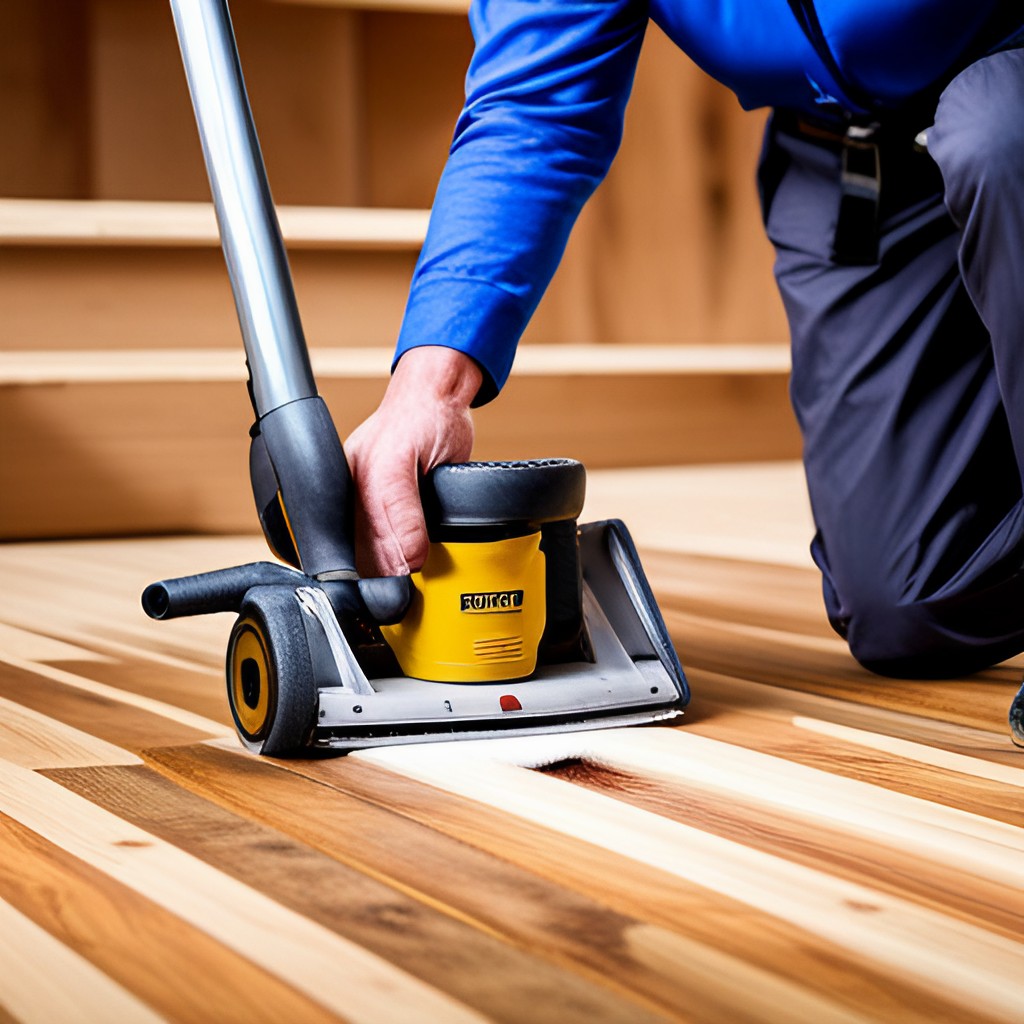
Employ a floor sander to sand the bamboo surface evenly. Begin by sanding in the direction of the grain to prevent scratches and achieve a uniform finish. Make sure to maintain a steady pace and avoid applying excessive pressure, which can lead to uneven spots or gouges.
Periodically check the sandpaper for wear and replace it as necessary to maintain optimal performance. The goal is to remove the old finish and level out any minor imperfections, creating a flawless base for the new finish.
Edge Sanding
For areas near walls and corners that the floor sander cannot reach, use an edge sander. This specialized tool allows for precise sanding along the perimeters of the room.
Once again, follow the grain of the bamboo and make overlapping passes to ensure a consistent finish with the rest of the floor.
Take care to frequently inspect your work to ensure that edges and corners are seamlessly blended with the larger surface area. After completing the edge sanding, thoroughly vacuum the entire floor to remove all dust and debris, leaving a clean slate ready for the finish application.
3. Staining (Optional)

Selecting a Stain
When choosing a stain for your bamboo floor, select one that complements its natural color and grain. Opt for a stain that is specifically designed for bamboo or wood to ensure compatibility and lasting results.
Consider testing the stain on a small, inconspicuous area first to see how it reacts with the bamboo and to confirm that it achieves your desired hue.
Application
Apply the chosen stain evenly across the floor using a cloth or brush. Work in manageable sections, moving in the direction of the grain to ensure a consistent finish.
Be sure to wipe away any excess stains to prevent blotches or uneven areas. It’s important to maintain a smooth, continuous motion to avoid lap marks and ensure a uniform application.
Drying Time
Allow sufficient time for the stain to dry completely before proceeding to the next step. The drying time can vary depending on the type of stain used, the ambient temperature, and humidity levels.
Follow the manufacturer’s guidelines, and ensure that the floor is fully dry to the touch before applying any topcoat or sealant to achieve the best results and prevent any issues with the finish.
4. Sealing
Choosing a Sealer
Selecting the right sealer for your bamboo floor is crucial to achieving a durable, long-lasting finish. You have two main options: water-based polyurethane and oil-based polyurethane.
A water-based sealer is typically preferred for its low odor, quick drying time, and clear finish that doesn’t yellow over time. On the other hand, oil-based sealers offer a richer, warmer tone and provide enhanced durability but may take longer to dry and produce a stronger odor.
Evaluate the benefits of each type and choose a sealer that best meets your needs and desired aesthetic.
Application
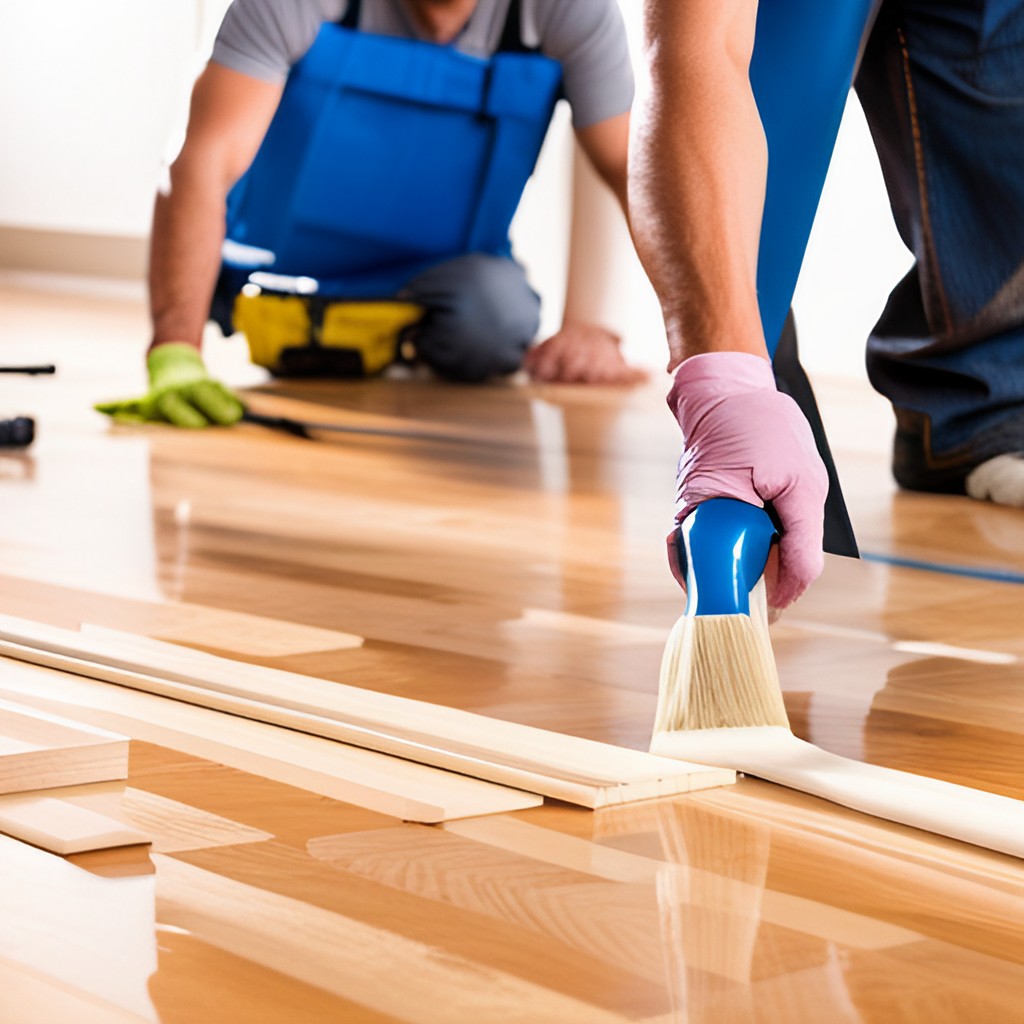
When applying the sealer, use a foam brush or roller to ensure even coverage. Begin by pouring a small amount of sealer into a paint tray. Dip the foam brush or roller into the sealer and gently remove any excess to avoid drips.
Start at one corner of the room and work your way out, applying the sealer in thin, consistent coats. Make sure to move in the direction of the grain to maintain a smooth finish.
Avoid overlapping areas to prevent visible lines and aim for a seamless application. After the first coat is applied, allow it to dry as recommended by the manufacturer before adding additional coats if necessary.
Drying and Curing
Allow the sealer to dry completely between coats, following the manufacturer’s instructions regarding drying times. Factors such as ambient temperature and humidity can affect drying times, so ensure you provide sufficient time for the sealer to set.
After the final coat, the floor will need to be cured properly to reach maximum hardness and durability. This curing process can take several days to a few weeks, depending on the sealer used.
During this period, avoid heavy traffic and place furniture on the floor to ensure the finish remains flawless. Be patient and allow the floor to cure fully for the best results.
5. Additional Coats

Sanding Between Coats
Lightly sanding between coats with fine-grit sandpaper is essential to achieving a smooth and professional finish. Use a fine-grit sandpaper, such as 220 or higher, to gently sand the surface of the dried sealer.
This process helps to remove any imperfections, dust particles, or brush marks that may have settled into the sealer. Be careful not to sand too aggressively, as this can damage the underlying sealer or wood.
After sanding, thoroughly clean the surface with a vacuum or tack cloth to remove all sanding dust before applying the next coat of sealer.
Number of Coats
For optimal protection and shine, apply at least two to three additional coats of sealer. Each coat adds an extra layer of durability, helping to safeguard the wood against wear and tear, moisture, and other environmental factors.
The number of coats you choose to apply may vary depending on the type of sealer and the level of protection required for the specific application. Always follow the manufacturer’s recommendations regarding the number of coats and allow each coat to dry completely before proceeding to the next.
Final Sanding
Conduct a final sanding with very fine grit sandpaper, such as 320 or higher, to achieve an ultra-smooth finish before the floor is fully cured. This step ensures that any remaining minor imperfections are addressed and that the surface is perfectly smooth and even.
After the final sanding, clean the surface meticulously to eliminate all dust particles. This thorough preparation will enhance the overall appearance and longevity of the sealer, providing a polished and professional finish.
6. Buffing

Buffing the Surface
Use a buffer to give the floor a polished, even finish. This step is crucial in ensuring that the sealer is distributed uniformly, enhancing the floor’s sheen and overall appearance.
Begin by attaching a polishing pad to the buffer and setting the machine to a low speed. Move the buffer slowly and steadily across the floor in overlapping passes to avoid missing any spots.
This technique will help achieve a consistent sheen and highlight the beauty of the wood grain.
Polishing Pads
Select the appropriate polishing pads for the buffing process. The type of pad you choose can significantly impact the result, so opt for one that is compatible with your sealer and floor type.
Generally, a soft white or beige pad is ideal for this final polishing stage, providing a gentle yet effective finish without causing scratches. Always refer to the sealer manufacturer’s recommendations for the best pad type and ensure the pad is clean and free of debris before use.
Final Touch-Up
Pay attention to any overlooked areas and buff them to match the rest of the floor. Inspect the floor under good lighting to identify any dull spots or areas with an uneven finish.
Use the buffer to gently polish these sections, ensuring they blend seamlessly with the surrounding surface. This meticulous attention to detail will result in a flawlessly polished floor that exudes a professional and well-cared-for appearance.
7. Maintenance
Regular Cleaning
Implement a regular cleaning routine with a gentle cleaner suitable for bamboo. Avoid using harsh chemicals or abrasive cleaning pads that might damage the floor’s finish. Instead, opt for a pH-neutral or bamboo-specific cleaner that will preserve the integrity and beauty of the bamboo.
Sweep or vacuum the floor regularly to remove dirt and debris, and follow up with a damp mop to keep the surface looking fresh and clean.
Preventative Measures
Use mats or area rugs in high-traffic areas to protect the floor. These can help reduce wear and tear from foot traffic, and they also prevent dirt and grit from being tracked onto the bamboo surface.
Place mats at entryways to capture dust and moisture from shoes, and ensure that the mats have non-slip backings to avoid any slipping hazards. Additionally, consider applying felt pads to the bottom of furniture legs to prevent scratches and dents on the floor.
Periodic Inspections
Periodically inspect the floor and address any minor damages promptly. Look for signs of wear, such as scratches, dents, or discoloration, and handle these issues early before they worsen.
Regular inspections, combined with timely maintenance, will help extend the life of your bamboo flooring and keep it looking pristine.
Repair minor scratches with a touch-up kit recommended by the flooring manufacturer, and seek professional help for more significant damages to ensure the best results.
Related Topics:
Conclusion
Refinishing bamboo flooring is a rewarding process that can restore your floors to their original beauty. By following a systematic approach, you can effectively address common issues such as scratches, dents, and discoloration, ensuring your bamboo flooring looks as good as new.
This guide has outlined the seven essential techniques for refinishing bamboo flooring, providing the knowledge and confidence needed to achieve professional results.
Whether you are a seasoned DIY enthusiast or a beginner, these techniques will help you maintain the elegance and durability of your bamboo floors for years to come.
With thorough preparation, careful application, and consistent maintenance, your bamboo flooring can continue to be a stunning feature in your home, offering both aesthetic appeal and long-lasting performance.
FAQs
Can I refinish bamboo flooring more than once?
Yes, bamboo flooring can be refinished multiple times depending on the thickness of the wear layer. It’s advisable to consult the manufacturer’s guidelines to determine how often refinishing can be safely performed without damaging the floor.
What tools do I need for refinishing bamboo floors?
Basic tools for refinishing bamboo floors include a sander, sandpaper, a putty knife, a stain or finish applicator, and a vacuum or broom for cleaning dust and debris. Ensure you also have appropriate personal protective equipment like masks and gloves.
How long does it take to refinish bamboo flooring?
The duration to refinish bamboo flooring depends on the size of the area and the extent of the damage. Typically, the process can take anywhere from a couple of days to a week, considering time for sanding, applying the finish, and allowing it to fully dry and cure.
