Hickory wood flooring is renowned for its durability, distinct character, and timeless appeal. A popular choice among homeowners, the hickory wood enhances the visual appeal of any space it graces. However, installing hickory wood flooring can seem daunting for beginners.
This guide will demystify the process and provide a step-by-step approach to help you successfully install your hickory wood flooring. Let’s embark on this home improvement journey together, ensuring your rooms are adorned with the natural elegance of hickory.
Moreover, hickory is a type of hardwood that is admired for its striking color variations, ranging from light to dark shades, and its unique grain patterns.
It’s one of the hardest North American woods available, which explains its exceptional durability and resistance to impacts, scratches, and dents. This resilience makes hickory wood flooring an excellent choice for high-traffic areas in your home.
Furthermore, hickory’s complex grain patterns and warm, earthy tones can add a rustic yet sophisticated charm to your interiors, creating an inviting and cozy atmosphere.
Choosing hickory wood flooring comes with several benefits that make it an excellent choice. Firstly, the inherent strength and durability of hickory wood make it ideal for areas prone to high traffic or rough use.
It stands up well against scratches, dents, and impacts, keeping your floor looking pristine for years. Secondly, the natural variations in color and unique grain patterns of hickory add a distinctive character and rustic charm to your interiors.
Lastly, hickory wood flooring is a long-term investment, with its timeless appeal and longevity adding value to your home.
Materials and Tools Needed
Here’s a comprehensive list of materials and tools you will need for installing hickory wood flooring:
- Hickory Wood Planks: Ensure you have an ample amount of planks for your flooring area, accounting for extras in case of damage or miscalculations.
- Subflooring: This provides a flat, stable surface for your hickory wood floor. Plywood is commonly used.
- Flooring Nails or Staples: These will secure your hickory planks to the subfloor.
- Nail Gun or Stapler: A tool to drive the nails or staples into the planks.
- Pry Bar: This is used to remove existing flooring or pry tight planks together.
- Tape Measure: Vital for accurate measurements.
- Circular Saw: For cutting planks to the correct length.
- Safety Equipment: Don’t forget your safety glasses, knee pads, and work gloves.
Additional Tools Required
While the existing list covers an array of important tools and materials, here are a few additional tools you may need when installing hickory wood flooring:
- Hammer: Ideal for correcting minor imperfections and ensuring a snug fit between planks.
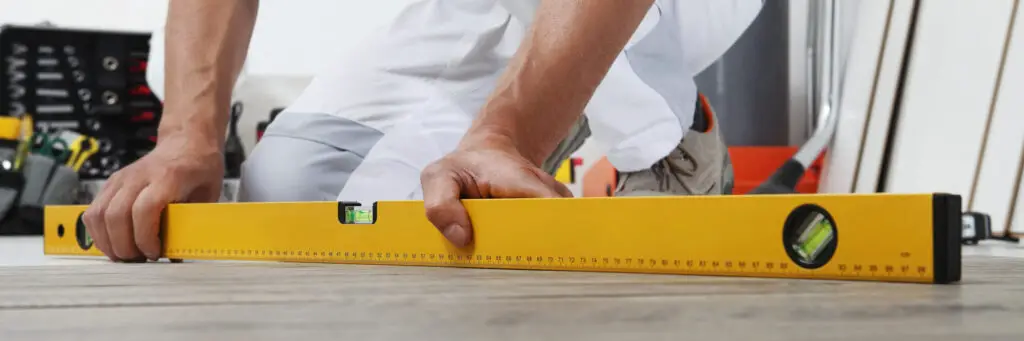
- Level: This tool is crucial to check the evenness of the subfloor before installation.
- Chalk Line: Use this to mark straight guidelines on your subfloor.
- Miter Saw: This is useful for making precise cuts, especially at the corners.
- Wood Adhesive: In certain cases, you may need to glue down the planks instead of nailing them.
- Spacers: These help maintain an expansion gap between the floor and the wall.
- Rubber Mallet: Handy for tapping planks into place without causing damage.
- Pull Bar: This helps in fitting the last row of planks near the walls.
- Trowel: You’ll need this if you are using adhesive to stick the planks to the subfloor.
Preparation
Checking and Preparing the Subfloor
Before you begin installing your hickory wood flooring, it’s essential to examine and prepare the subfloor. Ensure that it is clean, dry, and level. Any traces of dirt or debris can interfere with the installation process and affect the result.
Use a level to check for any uneven spots. You might need to sand high spots or fill in low spots with a leveling compound. It’s crucial to have a flat, stable base for your hickory wood flooring to prevent issues down the line.
Acclimating the Hickory Wood
Hickory, like all wood, expands and contracts with changes in temperature and humidity. To prevent warping or buckling after installation, it’s crucial to let the wood acclimate to the room’s conditions before installation. Unpackage the hickory planks and stack them in the room where they will be installed.
Allow them to sit for at least 72 hours so they can adjust to the room’s humidity and temperature levels. This acclimation process is a crucial step in ensuring the longevity and quality of your hickory wood flooring.
Installation Process
Step 1: Layout Planning and Marking
The first step in installing your hickory wood flooring is to plan your layout and mark your starting point. Start by measuring the room to determine its center and mark this point on your subfloor.
This is typically where you’ll start laying your planks. However, it’s also important to consider the alignment of your planks. Ideally, they should run perpendicular to the room’s joists to provide added stability and visual appeal.
Use a chalk line to draw your starting line, making sure it’s straight and aligned accurately with your room’s dimensions. Remember, careful planning at this stage will ensure a smooth installation process and a professional-looking result.
Step 2: Beginning the Installation
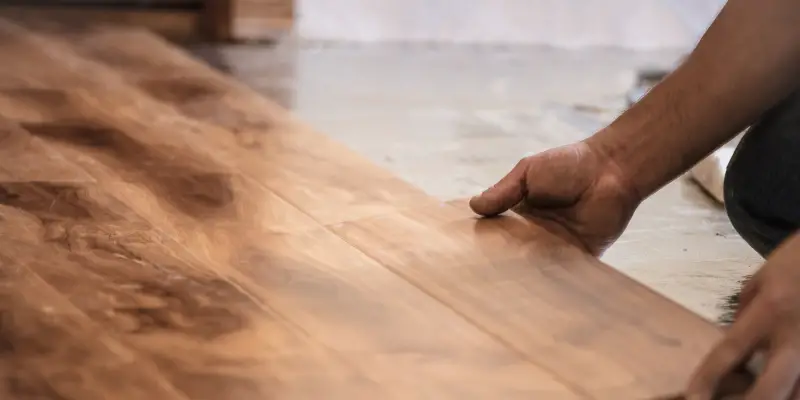
Once your layout planning is complete, you can start the installation process of your hickory wood flooring. Starting at the line you drew earlier, place the first plank with its tongue side facing the wall.
Use spacers along the wall to maintain an expansion gap, which allows the wood to expand and contract without causing any cracking or warping. Secure the plank to the subfloor using a flooring nailer, ensuring the nail is driven at a 45-degree angle through the tongue of the plank.
Repeat this process, ensuring each new plank is snug against the previous one, keeping a consistent and tight layout. Remember to stagger the seams of the planks across the floor, which aids in the stability of the flooring and enhances the visual appeal.
End the first row by cutting the last plank to fit, if necessary, ensuring you still maintain the expansion gap at the wall.
Continue this process for the remaining rows, ensuring that you constantly check your alignment as you progress through the room. Careful attention at this stage will result in a stunning and enduring hickory wood floor.
Step 3: Installing the Rest of the Flooring
Credit: Shutterstock
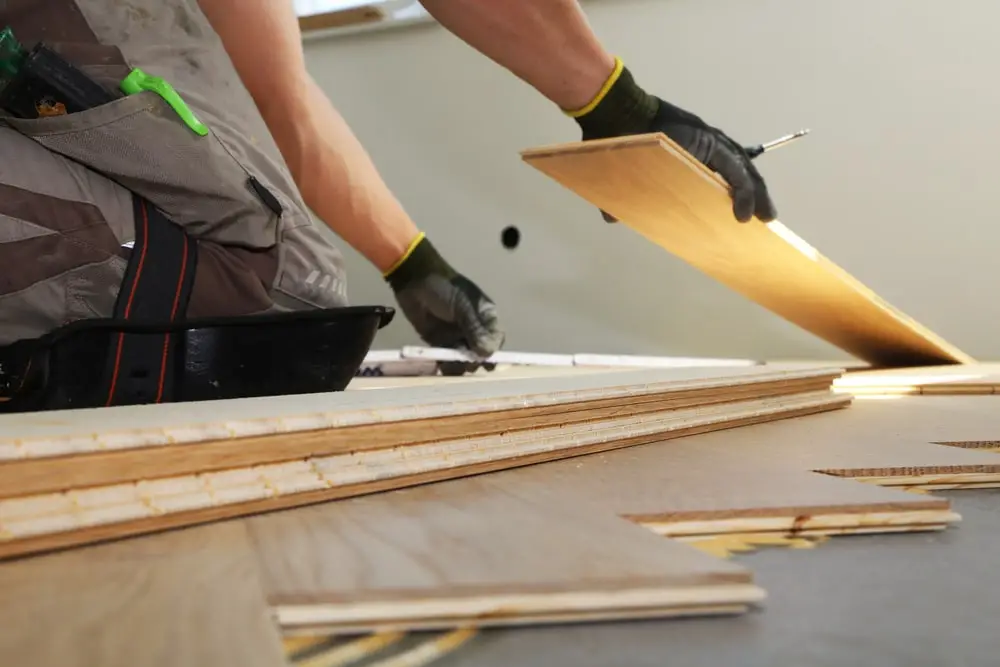
In the succeeding phase of the hickory wood flooring installation, meticulously proceed by adding the subsequent rows. Initiate by choosing a piece that will allow the end joint seams to be at least 6 inches apart from the seams of the preceding row, improving the structural stability and the aesthetics of the flooring.
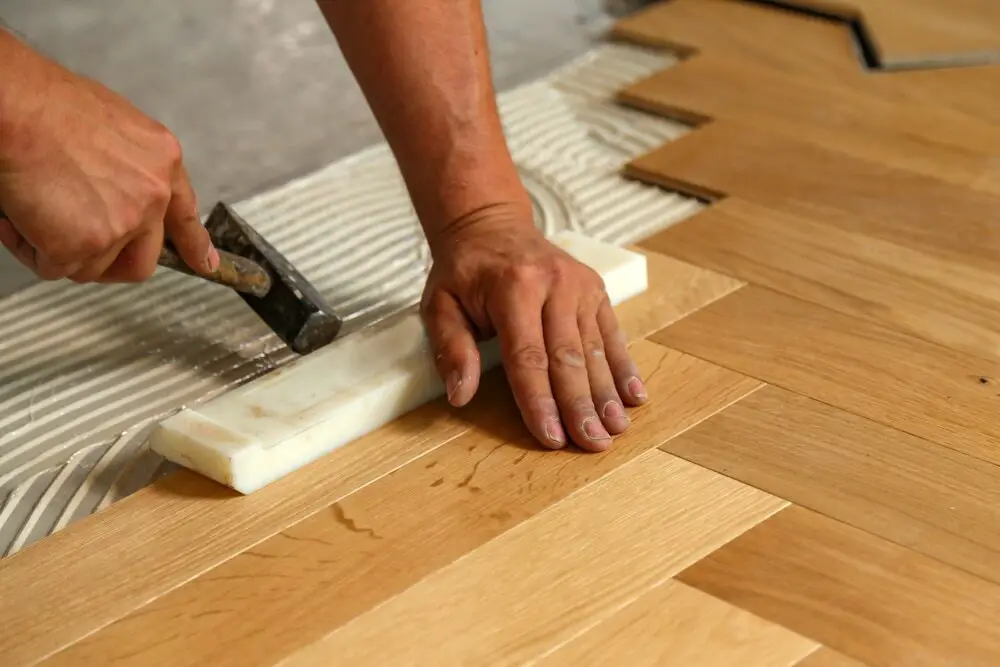
Engage the side grooves and tongues of the planks, ensuring a snug fit and maintaining the alignment.
Use a tapping block and rubber mallet to nudge the planks together, safeguarding the wood from potential damage while ensuring the planks are as tight as possible.
Following this, secure the plank into place using a flooring nailer, driving the nail at a 45-degree angle through the tongue as done previously.
For the last row, you might need to cut the planks lengthwise to ensure a perfect fit, remembering to maintain the expansion gap at the wall. Measure the gap and subtract the expansion measurement to get the width of the last plank.
After cutting, place the last plank with the cut side towards the wall. Repeat this process until the full room is covered with your stunning hickory wood flooring.
Lastly, clean the area and remove any debris or dust to prepare the floor for the finishing process.
Step 4: Handling the Edges and Tricky Parts
In the process of installing hickory wood flooring, there will inevitably be areas that pose a challenge. These might include edges, corners, and areas around door frames or heating vents. Use a jigsaw or a coping saw to precisely cut the planks to fit these tricky areas.
For door frames, a good strategy is to use an undercut saw to cut the bottom of the frame, allowing the plank to slide underneath for a seamless appearance.
For areas around heating vents, measure carefully, and then cut the plank to accommodate the vent opening.
Always remember that patience and precision are key in these steps, as well-fitted edges and tricky parts will elevate the overall look and longevity of your hickory wood flooring. After all planks have been installed and fitted to perfection, the floor is ready for the final finishing touches.
Post-Installation
Cleaning the Newly Installed Floor
Upon completion of the installation process, it’s crucial to thoroughly clean the newly installed hickory wood flooring. Begin by vacuuming the floor to remove any dust and small debris that may have accumulated during installation.
Use a vacuum with a hardwood floor setting or a soft brush attachment to prevent scratching the floor’s surface. Follow this with a damp mop, using a gentle, pH-neutral hardwood floor cleaner.
Avoid using too much water as it can seep into the crevices and damage the wood. After mopping, dry the floor promptly with a soft, clean cloth to avoid water stains and to bring out the natural beauty and shine of your hickory wood flooring.
Maintenance Tips for Hickory Wood Flooring
Maintaining your hickory wood flooring is essential for preserving its beauty and extending its lifespan. Below are detailed tips to help you achieve this:
Routine Cleaning:
Regularly sweep or vacuum your floor to remove dust and debris, which can scratch the wood surface. Use a vacuum that is specifically designed for hardwood flooring. Avoid using brooms with stiff bristles as they can scratch the finish.
Spill Management:
Attend to spills immediately to prevent water damage. Use a soft, absorbent cloth to blot the spill dry. Do not allow any liquid to sit on the floor for extended periods.
Avoid Using Harsh Chemicals:
Use only a pH-neutral cleaner meant for hardwood floors for any extensive cleaning. Do not use bleach, ammonia, or other high-pH cleaners as they can damage the finish and underlying wood.
Use Protective Pads:
Place felt pads under furniture legs to prevent scratches and dents. This is especially critical for heavy furniture and pieces that you move frequently.
Manage Humidity Levels:
Excessive humidity can cause wood to swell and warp; too little can cause it to shrink, leading to gaps between boards. Use a humidifier or dehumidifier to maintain a relative humidity level between 35% and 55% in your home.
Refinishing:
Hickory wood flooring can be refinished to restore its original luster. Depending on the wear, this might be necessary every 7-10 years.
Conclusion
In conclusion, the process of maintaining your hickory wood flooring involves a sequence of steps that, although detailed, are entirely achievable with a little bit of effort.
Ensuring routine cleaning, immediate spill management, avoidance of harsh chemicals, use of protective pads, managing humidity levels, and timely refinishing can effectively extend the lifespan of your flooring.
To all the DIY enthusiasts out there, don’t be intimidated! Installing and maintaining hickory wood flooring may seem daunting at first, but with time, it becomes a routine part of your home care. Remember, the beauty and durability of hickory wood flooring make every bit of effort worthwhile.
FAQs
What tools are necessary for the installation of hickory wood flooring?
The installation of hickory wood flooring requires a variety of tools. This includes a flooring nailer, mallet, tape measure, chalk line, miter saw, and pry bar. It’s important to have all of these tools accessible before beginning the installation process.
How long does it typically take to install hickory wood flooring?
The time it takes to install hickory wood flooring can vary widely based on the size of the space, the expertise of the installer, and whether or not there are any complex cuts or layouts involved. However, with proper planning and preparation, a room of approximately 500 square feet can generally be completed in 2 to 3 days.
Is hickory wood flooring suitable for homes with pets?
Yes, hickory wood flooring is a great choice for homes with pets. Its hardness and durability make it resistant to scratches and dents that pets might cause. However, it’s still important to keep pets’ nails trimmed to prevent any possible damage.
2 thoughts on “Installing Hickory Wood Flooring Like a Pro”