Installing oak flooring can dramatically transform any space, imbuing it with warmth, elegance, and timeless beauty. Whether you’re renovating an old house or looking to upgrade your current home, oak flooring is a durable and attractive choice that suits almost any decor.
In this guide, we’ll walk you through the essentials of how to install oak flooring, ensuring your project is completed efficiently and effectively. From choosing the right type of oak to the final touches, you’ll learn everything needed to create a stunning and long-lasting floor.
Preparation
Gather the Necessary Tools and Materials
Before you begin the installation process, it’s crucial to have all the necessary tools and materials on hand. This will ensure a smooth workflow and help prevent any unnecessary interruptions. Here’s a comprehensive list of what you’ll need:
- Tape Measure: To accurately measure the flooring area.
- Circular Saw or Table Saw: For cutting the oak boards to the required lengths.
- Rubber Mallet: To gently tap the boards into place without damaging them.
- Flooring Nailer or Stapler: Essential for securing the oak flooring to the subfloor.
- Chalk Line: For marking straight lines across the subfloor, ensure your oak boards are aligned.
- Pry Bar: Useful for fitting boards tightly together, especially near walls.
- Underlayment Material: To provide a smooth, level base and improve the floor’s acoustics.
- Oak Flooring Boards: The main component of your project. Ensure you have more than the calculated area to account for cuts and waste.
- Spacers: To maintain an expansion gap around the edges of the room.
- Level: To check the evenness of the subfloor.
- Safety Equipment: Including safety glasses and knee pads for personal protection.
Measure the Room
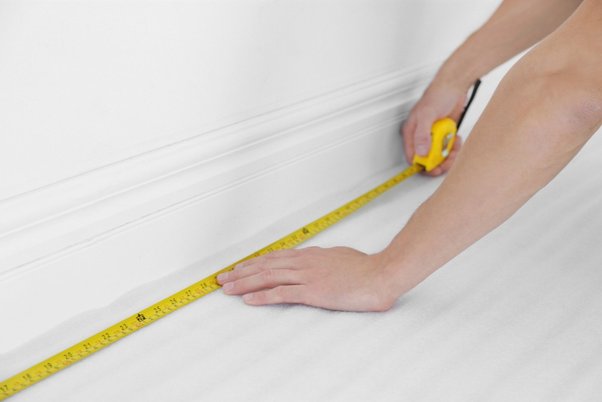
Before purchasing your oak flooring, measuring the room accurately is imperative to determine how much material you’ll need. Start by measuring the length and width of the room in feet or meters.
Multiply these figures to get the total square footage or square meters of the area to be covered. It’s advisable to add an extra 10% to this total to account for cutting waste and any mistakes.
This ensures you have enough flooring to complete your project without the need for additional material runs.
Acclimate the Flooring
Before installation begins, it’s crucial to acclimate the oak flooring to the room’s specific humidity and temperature conditions for 48-72 hours.
This process involves placing the flooring material in the room where it will be installed, still in its packaging, allowing it to adjust to the ambient conditions.
Proper acclimation prevents the wood from expanding or contracting post-installation, which can lead to gaps or buckling in the flooring. This step helps ensure a stable and enduring installation.
Subfloor Preparation
Prepare the Subfloor
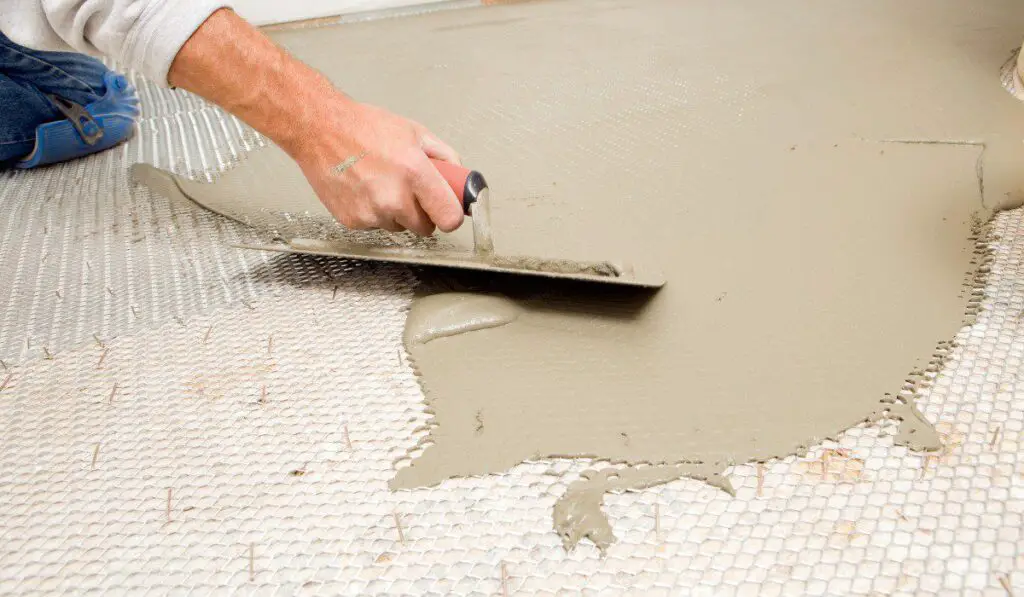
Ensuring the subfloor is clean and level is a pivotal step in the installation process. Begin by removing any debris, dust, or existing flooring material. Inspect the subfloor for any signs of damage, such as cracks or uneven areas, and repair these as needed.
Utilize a level to verify evenness across the surface; slight variations can cause issues with the oak flooring later. If significant unevenness is detected, you may need to use a self-leveling compound or undertake other corrective measures.
A clean, flat subfloor is essential for a smooth installation and to prevent future problems with the oak flooring.
Install Underlayment
The next step involves the installation of underlayment, which serves dual purposes – soundproofing and moisture protection. Choose an underlayment material appropriate for oak flooring and the specific needs of your room.
For enhanced sound reduction, particularly in multi-story buildings, consider a thicker, sound-dampening underlayment. In areas prone to moisture, such as basements, opt for an underlayment with a moisture barrier.
Lay the underlayment according to the manufacturer’s instructions, ensuring it is smooth and without overlaps that could cause irregularities under your oak flooring.
Properly installing underlayment significantly contributes to the longevity and comfort of your oak flooring installation.
Layout Planning
Direction of Floorboards
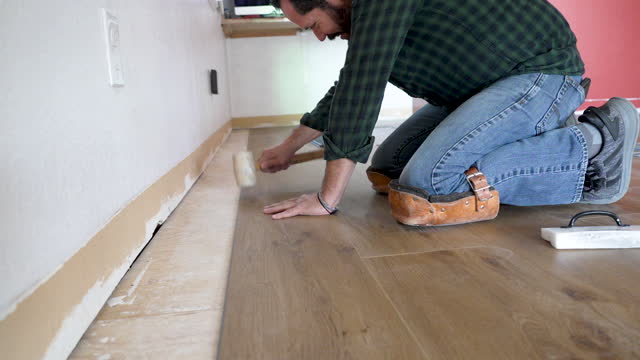
Determining the direction in which to lay the floorboards is a crucial step that affects both the aesthetic appeal and the functional layout of the room. Traditionally, it is advised to install oak floorboards parallel to the longest wall of the room to create a sense of continuity and space.
This method also aligns with natural light sources, enhancing the wood’s appearance. However, if your room features a significant focal point, such as a fireplace or large windows, consider aligning the floorboards to emphasize this feature.
The choice of direction should also account for the subfloor’s condition and joist direction for optimal support.
Layout Planning
Before beginning the installation, careful planning is necessary to minimize the use of narrow pieces along the room’s perimeter, which can detract from the overall look and stability of the flooring.
Start by measuring the room’s dimensions and calculating the width of the oak flooring planks. Use these measurements to envisage the layout, aiming to begin and end with reasonably wide pieces.
If narrow pieces are unavoidable, position them in less visible areas or under furniture. During this planning stage, consider the placement of expansion gaps required for natural wood movement, ensuring a seamless finish to your oak flooring installation.
Installation
Starting the Installation
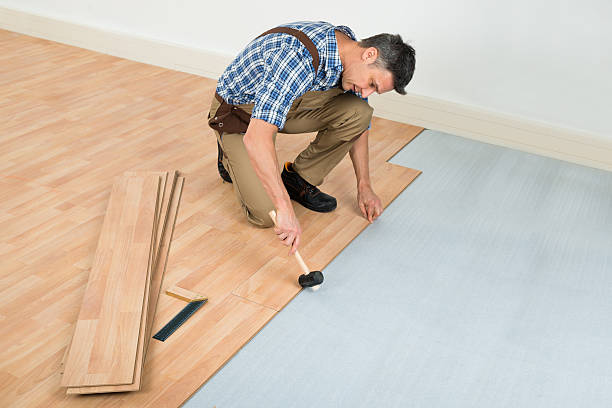
Begin the installation process from the room’s longest, straightest wall. This approach provides a solid reference point for laying out the floorboards in a straight, orderly fashion, ensuring the overall layout remains uniform across the room.
Starting at this point often minimizes the need for significant adjustments as you progress, facilitating a smoother installation. To ensure the first row is perfectly straight, consider using a chalk line or laser level.
Anchor the initial row securely, as it will serve as the guide for subsequent rows, contributing to the stability and aesthetics of your oak flooring.
Expansion Gaps
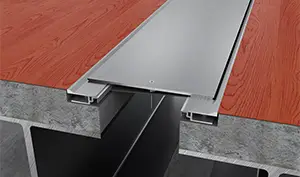
Use spacers to maintain an expansion gap around the room’s perimeter. This gap is crucial for allowing the oak flooring to expand and contract naturally with changes in humidity and temperature, preventing warping or buckling.
The recommended width for this gap is typically between 10 to 15 millimeters, depending on the manufacturer’s instructions. Carefully place the spacers at regular intervals along the walls as you lay each row of flooring, ensuring the gap remains consistent all around the room.
Remember to remove the spacers once installation is complete, before installing baseboards or molding to cover the gap, thus securing a neat finish.
Staggering End Joints
Staggering the end joints of the floorboards is essential for achieving a natural appearance and structural stability in your oak flooring. This technique involves ensuring that the end joints of adjacent rows do not align vertically.
Ideally, the end joints should be staggered by at least 6 to 8 inches (15 to 20 centimeters) from one row to the next.
This pattern not only enhances the aesthetic appeal of the floor by creating a more randomized, natural wood floor look but also distributes the load more evenly, adding to the floor’s overall stability.
When planning your layout, take the time to visualize and map out the staggering to avoid any repetitive patterns or visual lines that could detract from the floor’s appearance.
Securing Floorboards
Once the layout is planned, and the staggering of end joints is determined, the next step is to secure the floorboards in place. Depending on the specific product recommendations and the type of oak flooring chosen, this can be achieved through nailing, gluing, or a combination of both.
For traditional solid oak floors, nailing is often preferred, particularly when installing over wooden subfloors. Engineered oak flooring, on the other hand, maybe more suited to gluing, especially when being installed over concrete or on lower levels of a home.
Always refer to the manufacturer’s guidelines for the recommended adhesive or nail type and spacing. It’s crucial to ensure that each board is securely fastened to prevent any movement that could lead to squeaks or gaps in the future.
Finishing Touches
Install Baseboards
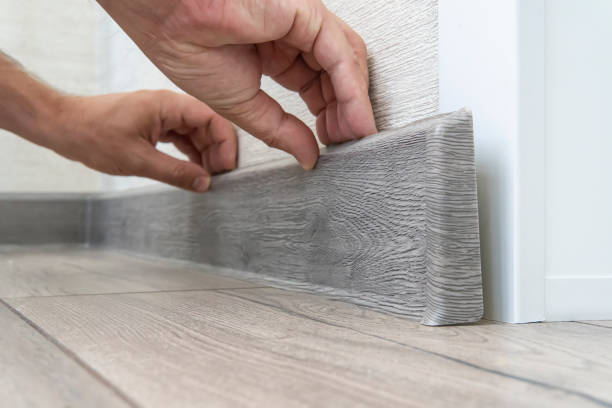
After the floorboards are securely in place, the next step involves installing baseboards or quarter-round molding.
This not only aesthetically completes the room but also covers the expansion gaps that are necessary around the perimeter of the room to accommodate the natural expansion and contraction of the wood.
It is important to nail the baseboards to the wall, not the floor, to allow the flooring enough room to move.
Clean the Floor
Once the baseboards are installed, it’s time to clean the floor meticulously to remove any dust, debris, or installation remnants. A soft-bristle broom or a vacuum cleaner designed for hardwood floors is ideal for this task.
Ensuring complete removal of debris is crucial before moving on to the final step, especially if the floor requires finishing. This step ensures that the finishing application is smooth and free of imperfections.
Apply Finishing Treatment
If your oak flooring is unfinished, applying a finishing treatment is the final step. This could involve staining the wood to achieve your desired color tone and then sealing it with a protective coat such as polyurethane.
This layer not only enhances the natural beauty of the oak but also provides a protective barrier against wear, tear, and moisture. It’s imperative to follow the manufacturer’s instructions for the application and drying times to ensure the best results.
Post-Installation
Settling Period
Once the finishing treatment has been applied, it is crucial to allow the floor to settle and acclimate for a minimum of 24 hours before moving furniture or any heavy objects back into the room.
This waiting period ensures that the finish has properly dried and adhered to the oak, preventing any immediate scratches or marks. Avoid walking on the floor as much as possible during this time to ensure the integrity of the finish.
Care Guidelines
To maintain the beauty and durability of your oak flooring, follow these care and maintenance guidelines:
- Regular Cleaning: Sweep, dust, or vacuum the floor regularly using a soft-bristle broom or a vacuum cleaner without a beater bar to remove dirt and grit.
- Moisture Protection: Wipe up spills immediately to prevent water damage. Avoid using wet mops or steam cleaners, which can harm the finish and wood over time.
- Use Protective Pads: Attach felt pads to the legs of furniture to prevent scratches. Avoid dragging furniture across the floor when moving it.
- Rug Use: Place area rugs in high-traffic areas to minimize wear. Ensure they are breathable and non-staining.
- Avoid Harsh Chemicals: Clean the floor with a PH-neutral cleaner specifically designed for hardwood floors. Avoid using harsh chemicals or abrasive cleaners that can strip the finish.
- Sunlight Protection: Use curtains or blinds to protect the flooring from prolonged exposure to direct sunlight, which can cause discoloration.
Conclusion
Installing oak flooring is more than just a home improvement project; it’s an investment in the beauty and value of your space. Through this comprehensive guide, we’ve walked you through all the steps necessary from preparation and acclimation to the laying and finishing touches to ensure your oak flooring installation is successful.
Remember, the key to a beautiful and enduring oak floor lies in meticulous preparation, precise installation, and ongoing care. By choosing oak, you’re not just selecting a flooring material; you’re opting for a durable, timeless, and versatile option that will enhance any decor.
Adhering to the guidelines we’ve shared will help you achieve a stunning result, ensuring that your floor remains a central feature of your home for years to come.
With oak flooring, you bring a piece of nature’s warmth and elegance into your living space, creating a welcoming atmosphere for all who enter.
FAQs
How long does oak flooring last?
With proper care and maintenance, oak flooring can last over a century. Its durability is one of the reasons it remains a popular choice for homeowners.
Can I install oak flooring over concrete?
Yes, you can install oak flooring over concrete, but it requires a moisture barrier or underlayment to prevent moisture damage. Always follow manufacturer recommendations for best results.
Is oak flooring suitable for kitchens and bathrooms?
Oak flooring can be used in kitchens where spills can be promptly cleaned. However, it’s generally not recommended for bathrooms due to the high moisture and humidity levels, which can cause warping or damage over time.
1 thought on “How To Install Oak Flooring: DIY Guide”